Introduction
Well, it should be a natural thing to connect your network with your Cloud service provider. For shure, if you are a business customer that’s a standard task. E.g. get a leased line or establish an IPsec based VPN connection via a business line. Configure your professional router and you’re done!
But what to do, if you want to connect your home and private network? And of course, there is always a tight budget! Definitely!
Budget isn’t the only constrain!
We are all well aware, that we are running out of IPv4 addresses. Nowadays, you will not get a public IPv4 address assigned to a consumer Internet access. Most Internet service providers – ISPs will masquerade your connection behind a Carrier-grade NAT – CGN. If you are lucky, you might get a floating IPv4 address. Unfortunately, IPsec implementations require public static IPv4 addresses. Implementing a workaround with a dynamic DNS address, is not feasible in most configuration options.
In my case, I do appreciate my FTTH connection. But as mentioned, it’s limited by a CGN. As a result, I may not establish an IPsec based VPN connection to my Cloud service provider. And even my public IPv6 segments are slowly floating (around every quarter). Other options are not available or are simply too expensive.
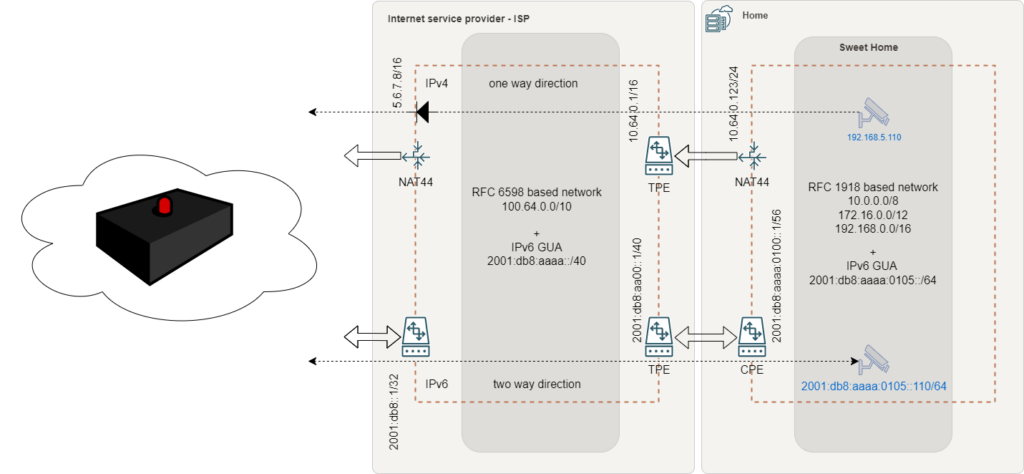
Looks like this has been missed for consumer and remote working customers. No offer for common and open solutions like OpenVPN, WireGuard or something similar, out of the box.
Ergo, no chance to establish a VPN connection, for me.
Well, as there is a strong movement in the Cloud, this statement might be outdated quickly!
Challenge accepted!
The idea
A WireGuard based VPN is becoming very popular. It will work with IPv6, its open, It’s easy to setup and well- integrated into most Linux based systems. WireGuard doesn’t require strong hardware. Certificate and encryption handling is not complicated as with OpenVPN. Well, WireGuard is my preference.
Raising the question: How-to setup a WireGuard VPN over IPv6?
Bonus question: How to do this Including OSPF?
The following will describe, how you my connect your home network via IPv6. With the help of WireGuard and OSPF, the OCI Virtual Cloud Network – VCN can be seamlessly integrated into your network.
OSPF is an interior gateway protocol, that will help to manage the complex routing configuration between networks. I assume this will be very interesting for small and midsize enterprises, as well.
Psst! Don’t tell anyone! It’s working with the Oracle – Free Tier.
Disclaimer: You need to have a clear understanding of IP addressing, network segmentation and routing. This won’t be described in every detail and is considered as prerequisite.
You might find some other useful blogpost, related to networking topics, here: Networking
Prepare your environment
The following example is implemented with the help of the Oracle Cloud Free Tier.
Setup a Compartment
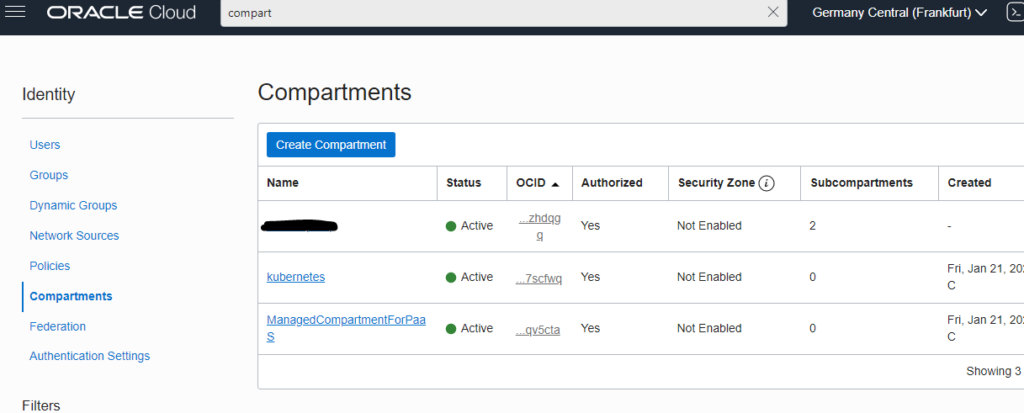
To work with a logical isolation and to don’t influence other activities, Compartments are very useful. In this case, I’ll use the Oracle offering to create my Kubernetes lab. Therefore, a Compartment kubernetes is created.
Setup your Virtual Cloud Network – VCN
A Virtual Cloud Network – VCN needs to be provided. A VCN will provide the basement for all network configuration tasks. This VCN will be attached to the kubernetes Compartment.
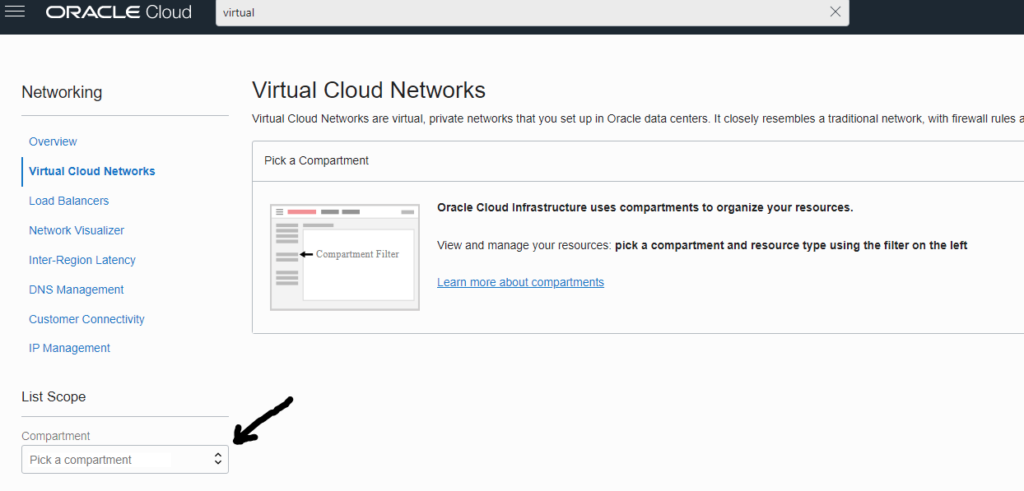
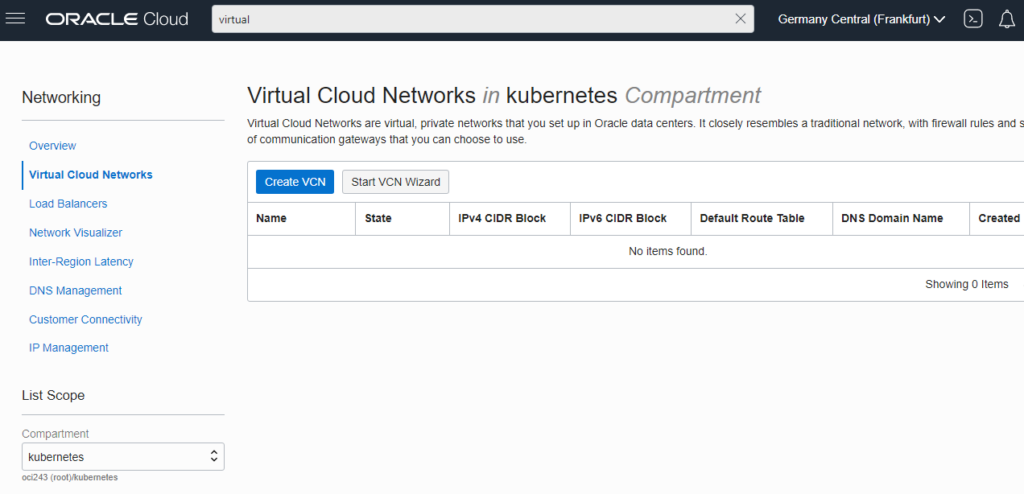

The first option is chosen, because the Site-to-Site VPN option is not feasible.
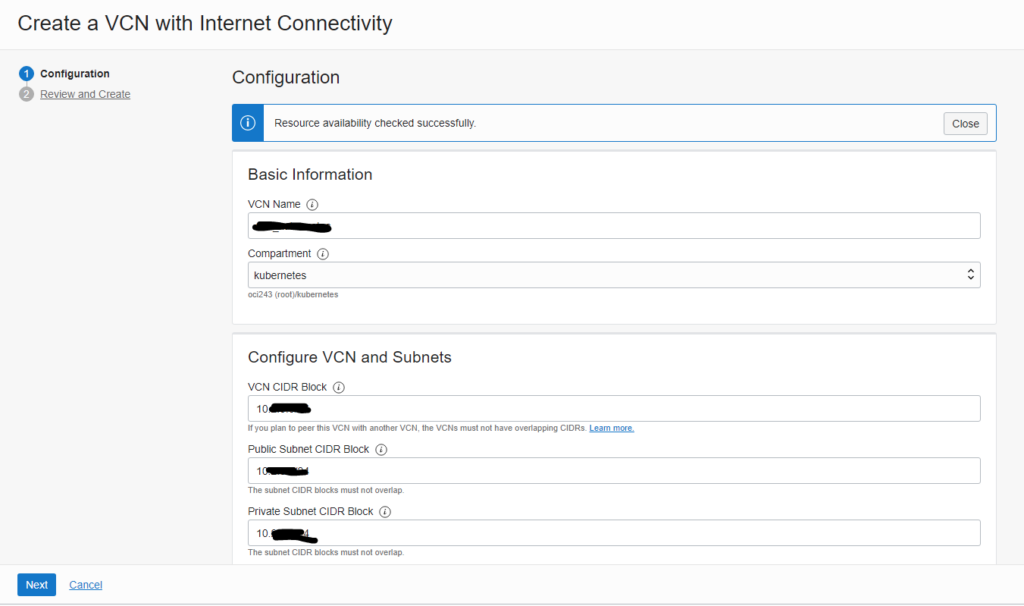
Please make sure to provide network segment addresses that do not conflict with your own network!
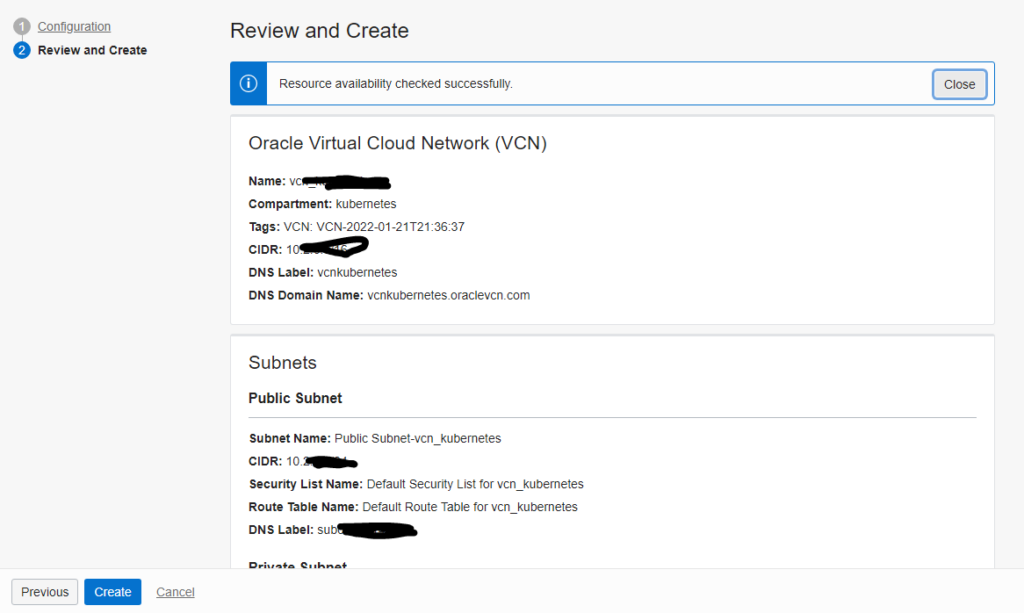

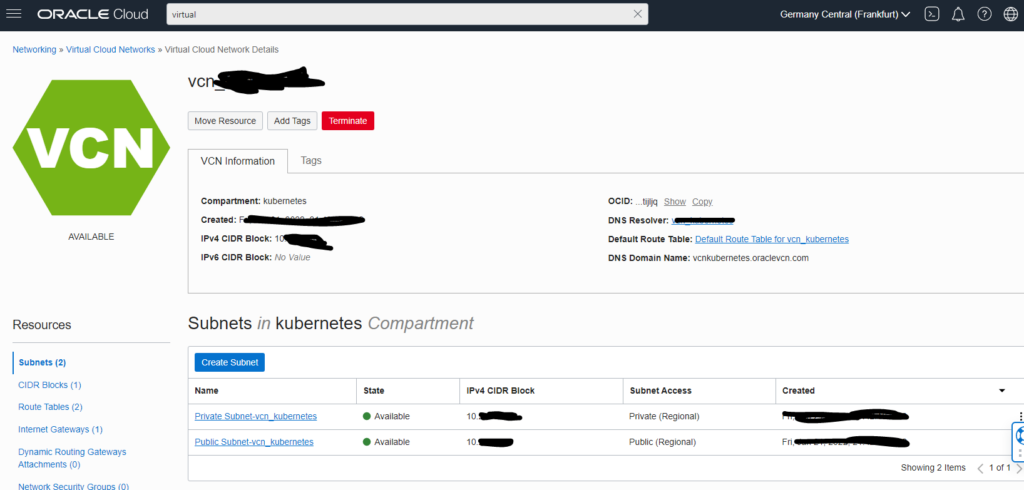
Enable IPv6
IPv6 support is not enable out of the box. Therefore, enable IPv6 support, please.
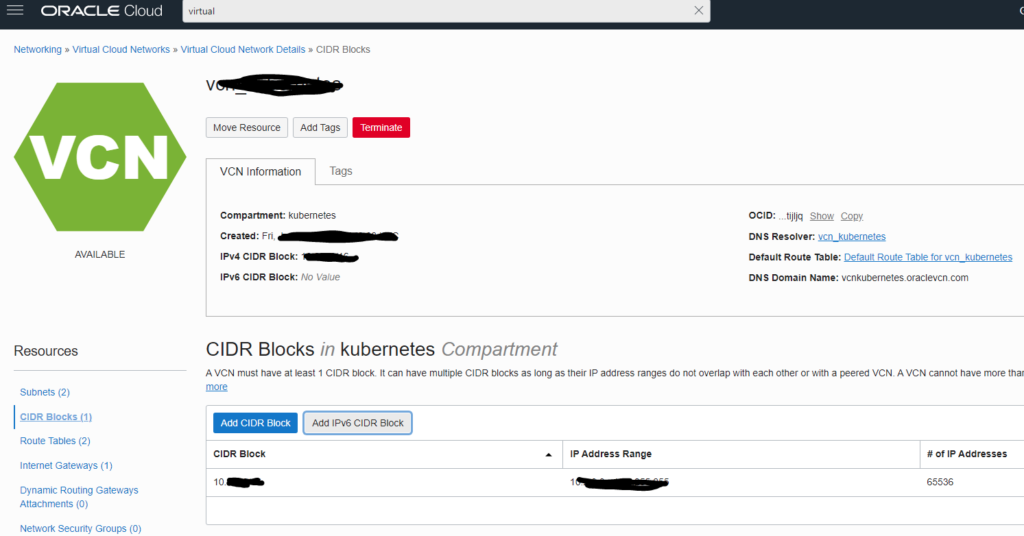
Press “Add IPv6 CIDR Block” to attach a /56 IPv6 segment to your VPC

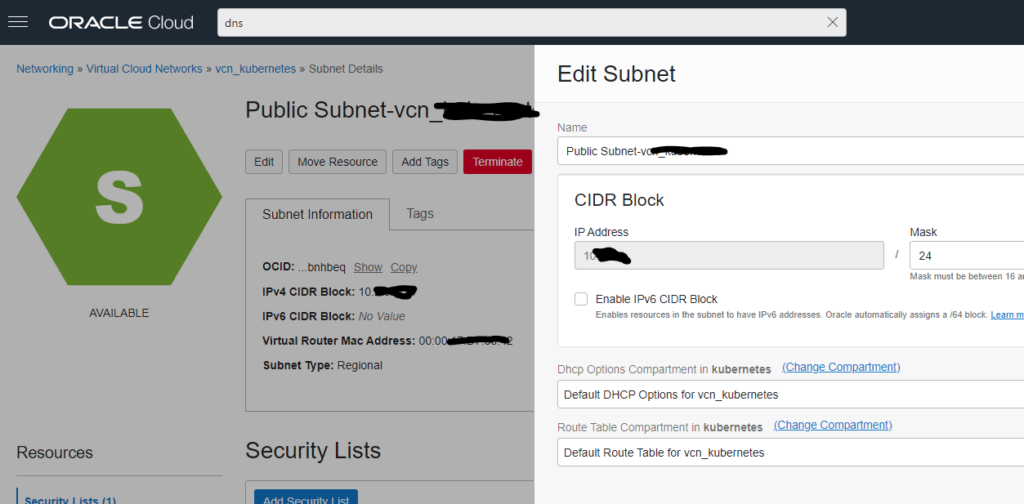
Following, you need to attach a /64 subnet to the public and private VPC segment.

Setup router host system
To establish a Site-to-Site VPN, you need to setup a compute instance as a router host system. Best choice is an AMD based free instance with ubuntu minimal. Place it in the public subnet.
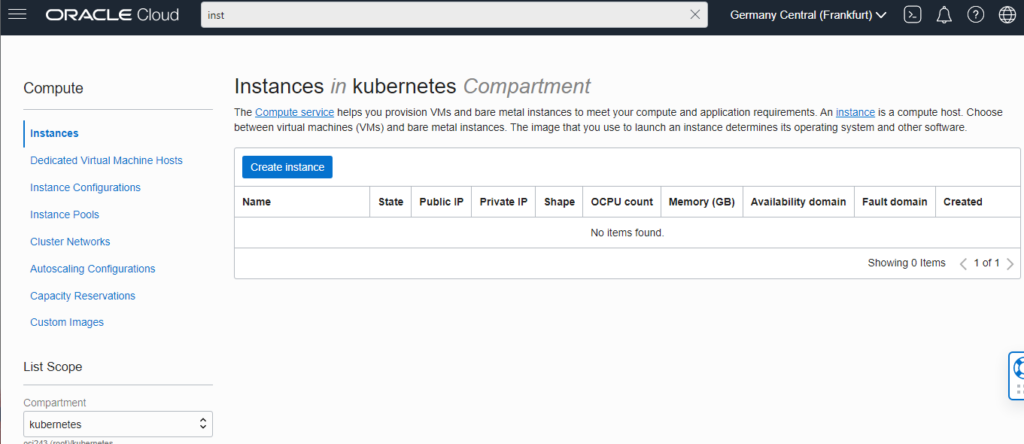
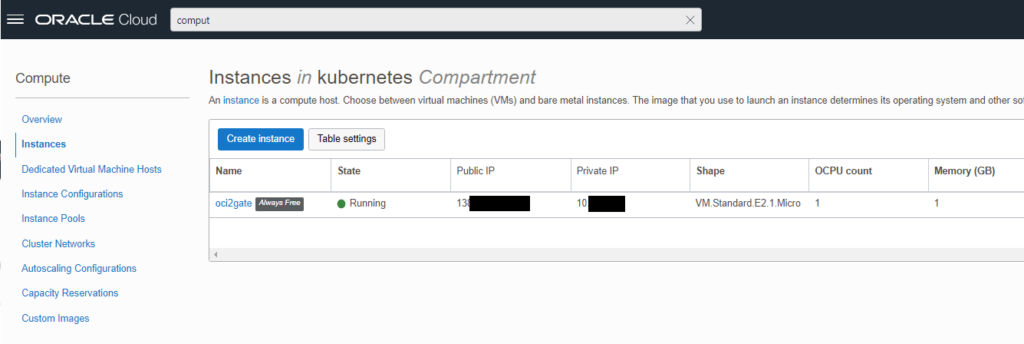
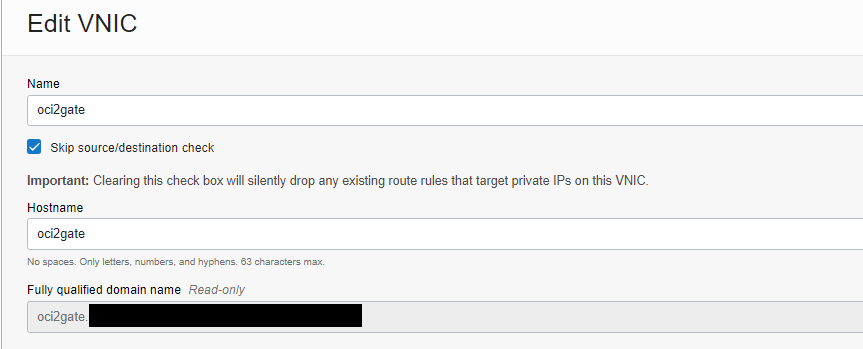
- Go to the “Instance details” -> “Attached VNICs”. Edit VNIC and switch on the “Skip source/destination check” checkbox.
- Go to “VNIC Details” -> “IPv6 Addresses” and assign two IPv6 Addresses

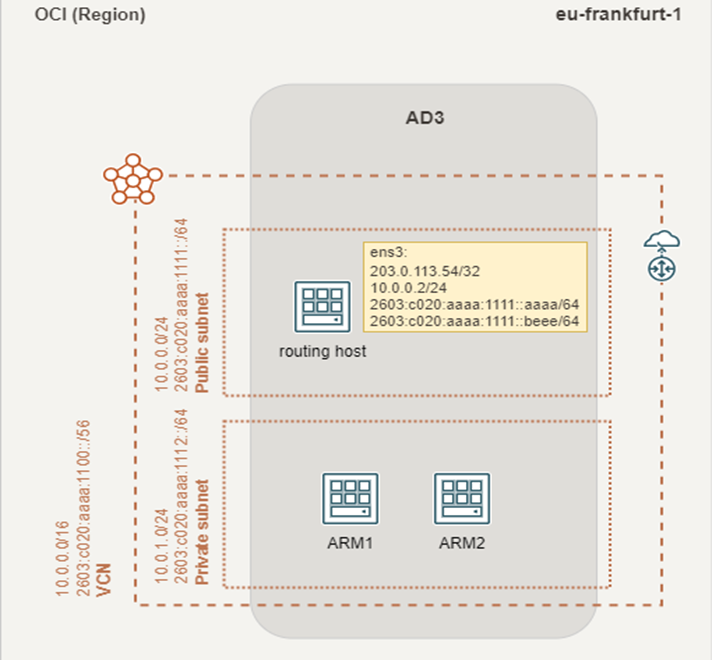
Finally, it should look like this:

End of part I
If everything went well, you did setup the base environment to establish a Site-to-Site VPN.
In the next part, you’ll configured the router host:
- Setup a WireGuard VPN using IPv6 and OSPF – Oracle Cloud Free Tier- part I
- Prepare Oracle Cloud – Free Tier
- Setup a WireGuard VPN using IPv6 and OSPF – Oracle Cloud Free Tier- part II
- Configure WireGuard on the routing host in the Oracle Cloud
- Setup a WireGuard VPN using IPv6 and OSPF – Oracle Cloud Free Tier- part III
- Configure your router @home
- Setup a WireGuard VPN using IPv6 and OSPF – Oracle Cloud Free Tier- part IV
- Configure OSPF/routing
