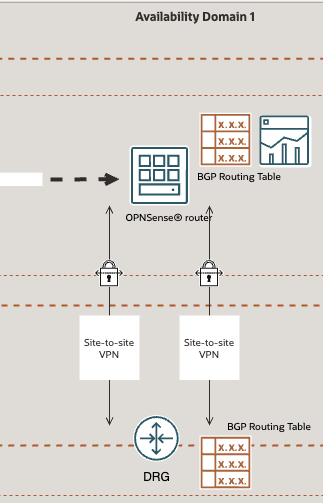
To manage north-south and east-west traffic in a Cloud environment, it can be useful to implement a software-based firewall. In lab, training environments or for personal use professional firewalls are often too costly. Why not choose a proven and community-driven solution like OPNsense®? While there are many alternatives, today we will focus on OPNsense®.
This document provides a brief summary of how to install OPNsense® on a Compute Instance in Oracle OCI.
Currently, there is no official ARM support, what would provide the best price ratio for the infrastructure required. Therefore, we will perform this installation on AMD-based Compute Shapes.
Download OPNsense®
For the installation of OPNsense®, it is required to download the installation media. OPNsense® provides several installation options. For our purpose, we will use the NANO image.
Download the NANO Image at https://opnsense.org/download/
Upload image into Object Store
To make the installation image available in the cloud and prepare it for launching a Virtual Machine (also known as a Compute Instance), the image must be uploaded to an Object Store.
If you are new to Oracle OCI and need more information about Object Storage and how it works, feel free to visit: https://docs.oracle.com/en-us/iaas/Content/Object/home.htm and https://docs.oracle.com/en-us/iaas/Content/Object/Tasks/managingbuckets_topic-To_create_a_bucket.htm
Follow theses steps:
- Decompress the image file.
- Create or prepare an Object Store Bucket to host the image file.
- Upload the image file to the Object Store Bucket.
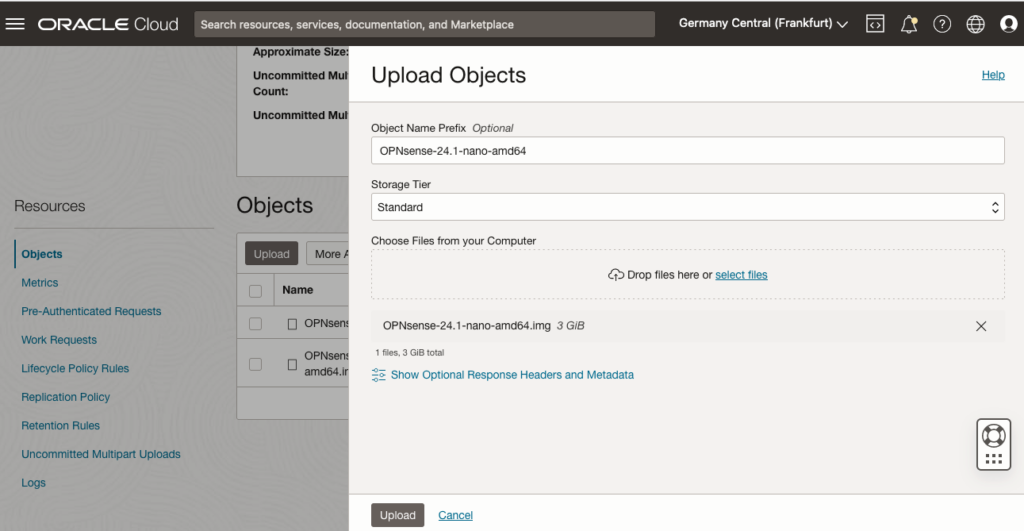
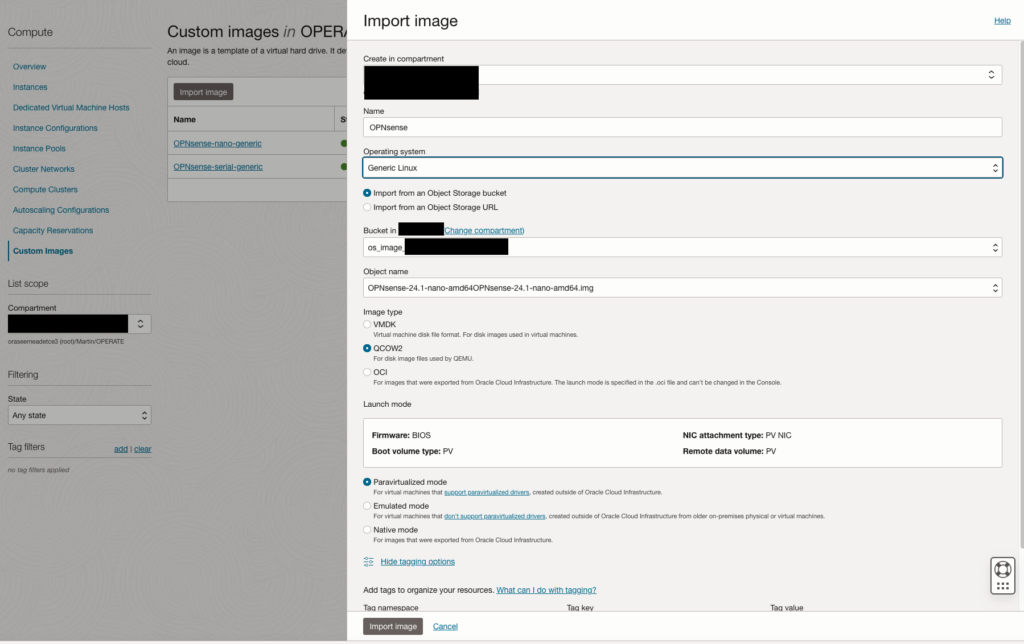
Import image
For further usage, it is necessary to import and transform the image file. This can be accomplished in the “Custom Images” section. Please refer to the provided example.
Stay patient…
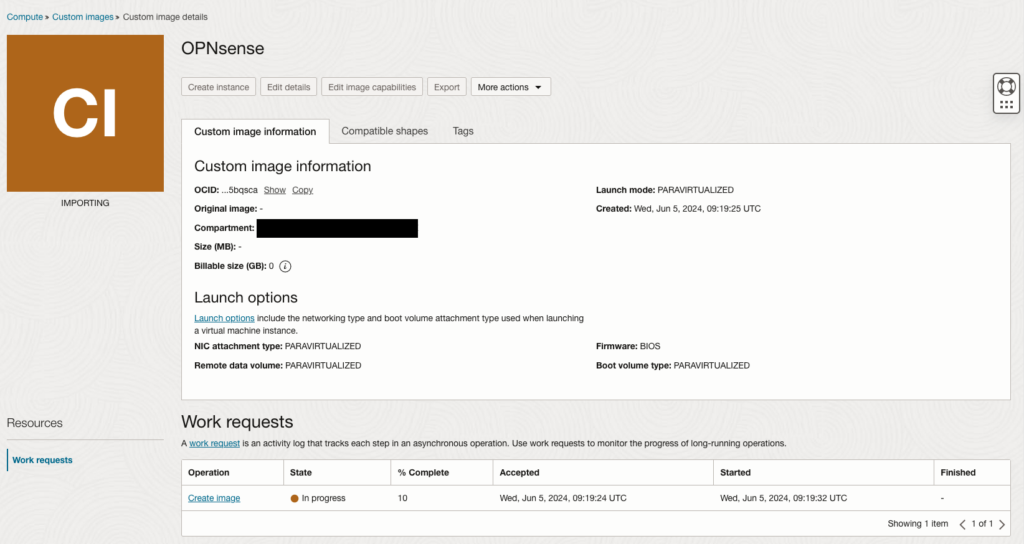
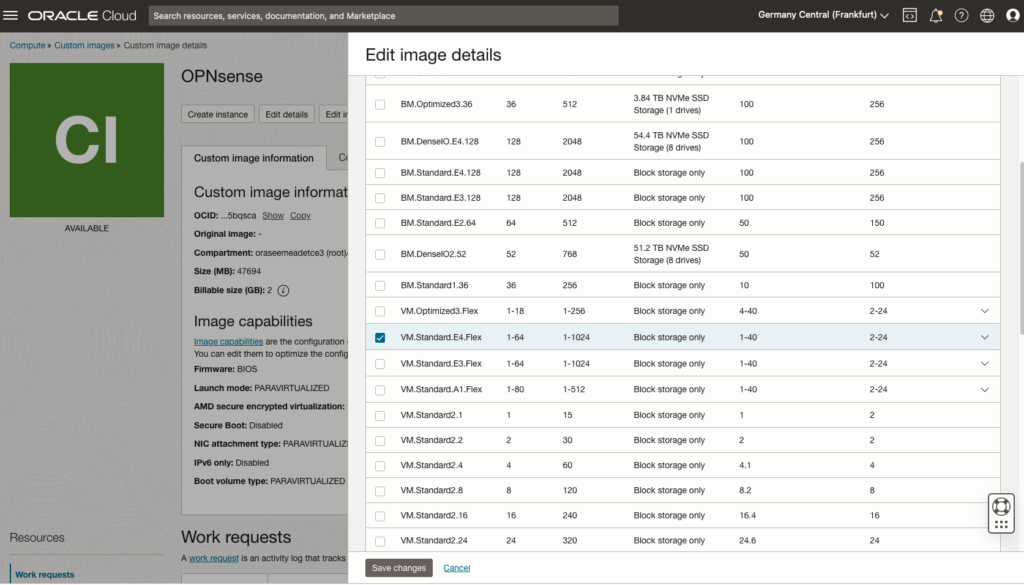
Edit image details
Make sure to enable the shapes of your preference, such as all E4.Flex and E5.Flex shapes. Note that ARM (A1) is not natively supported.
Create Compute Instance
Select the custom image and click at the “Create Instance” button.
Follow the process for creating a Compute Instance. This procedure is similar to the standard method you already know for setting up a Compute Instance in OCI.
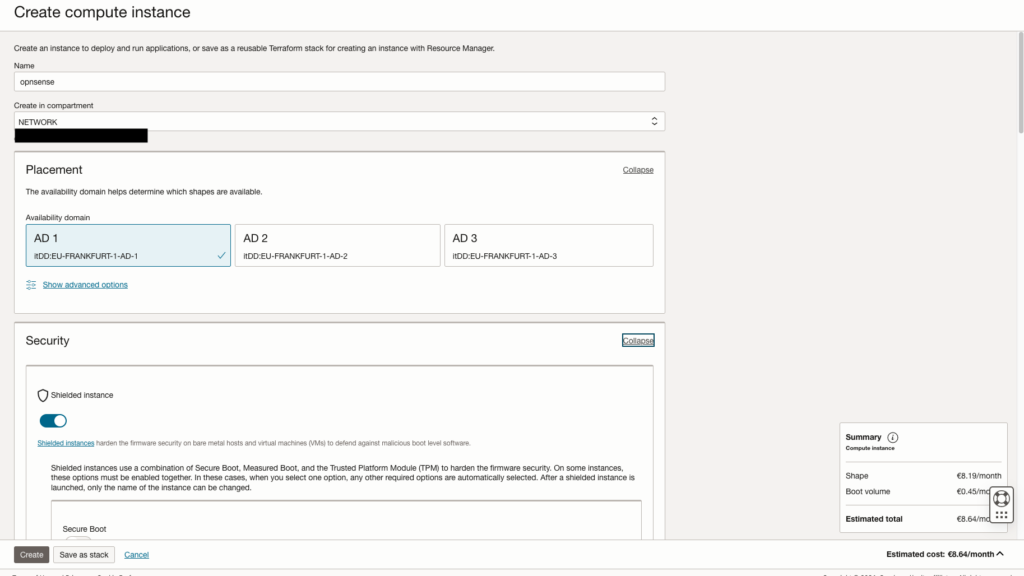
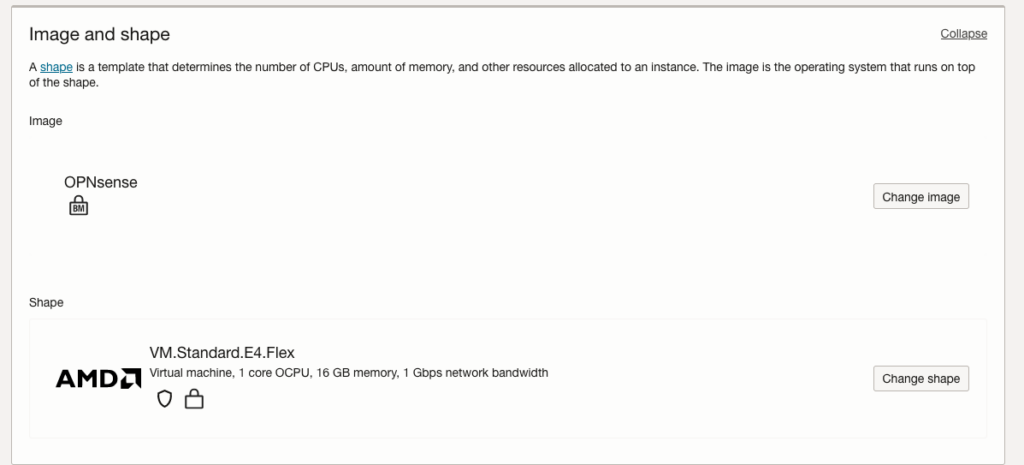
For the best cost-to-performance ratio, I recommend using AMD shapes.
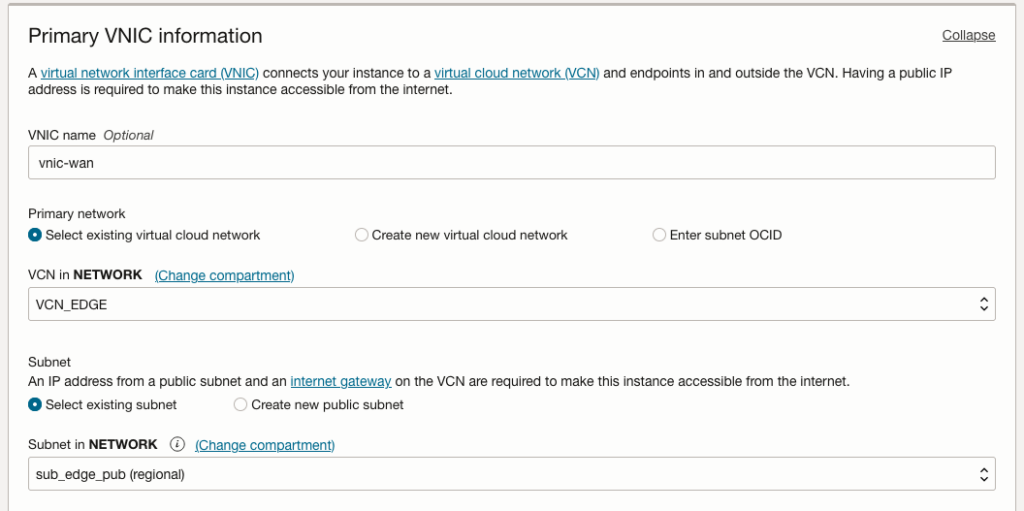
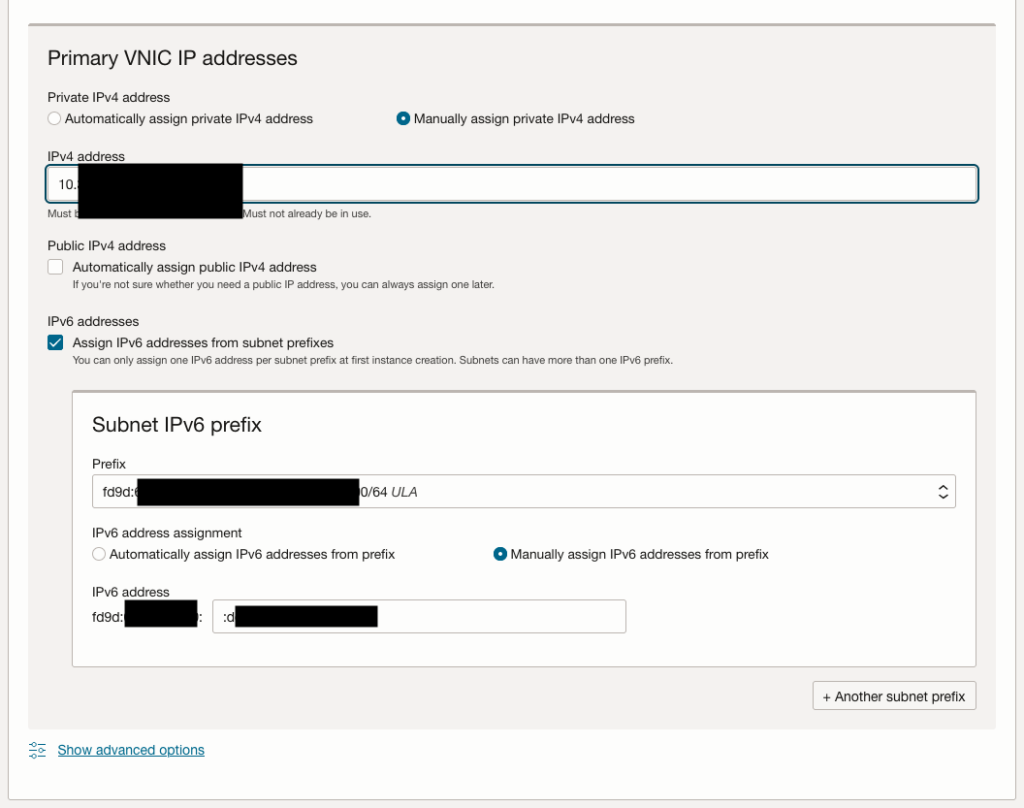
Ensure the instance is attached to a public network subnet. This step is necessary to assign a public IP address, connect external resources and establish connections such as VPNs.
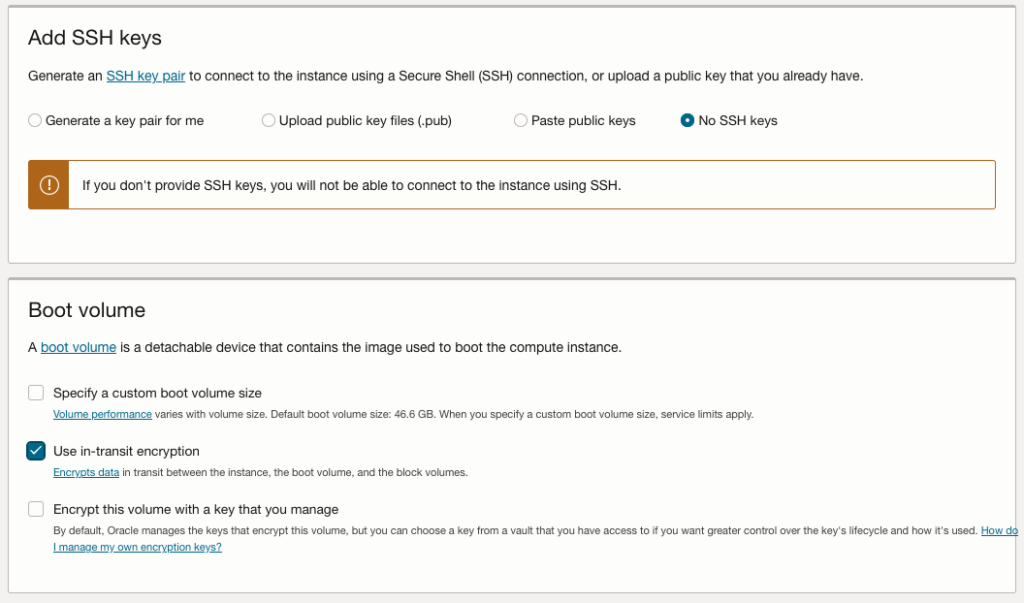
OPNsense® is provided as an appliance image, so there is no need to set up an SSH key at this stage. However, SSH key authentication is highly recommended and can be configured later using the internal OPNsense® configuration steps.
Configure OPNsense
Before attaching public IPs and gaining access to the virtual machine, it is necessary to complete several configuration steps. These include setting the password and defining the network interfaces within OPNsense®.
This can be achieved using the “Console connection.” Simply launch the Cloud Shell connection.
Login
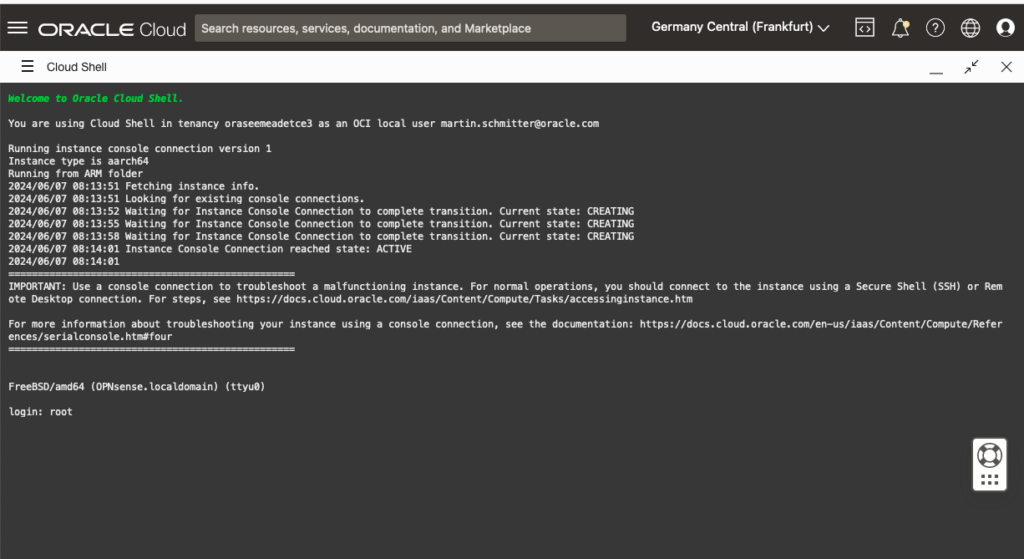
Login with the default password!
Set network interface
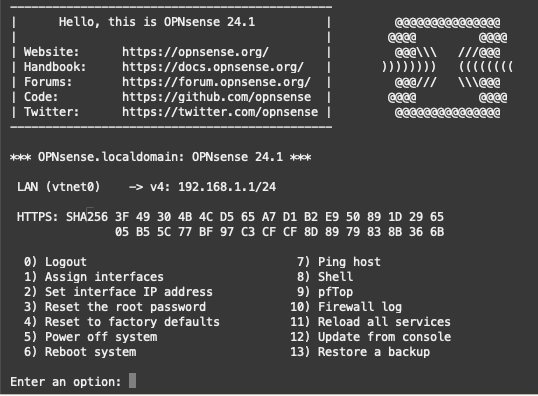
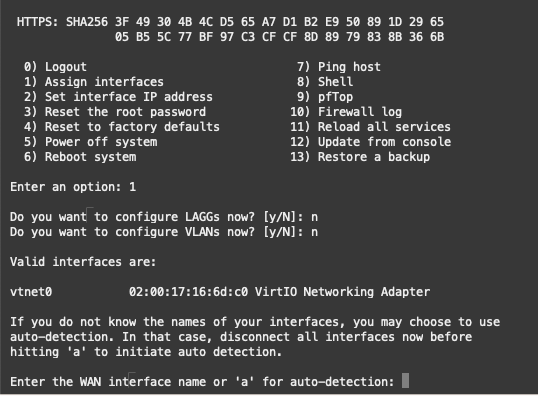
Under normal conditions, the Virtual Network Interface Card – VNIC is identified as vtnet0. Learn more about managing VNICs here.
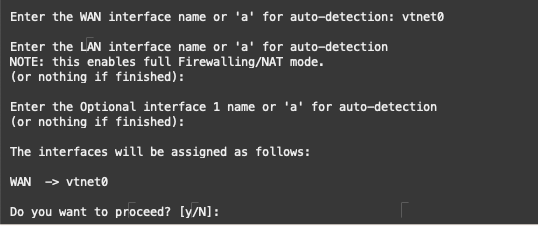
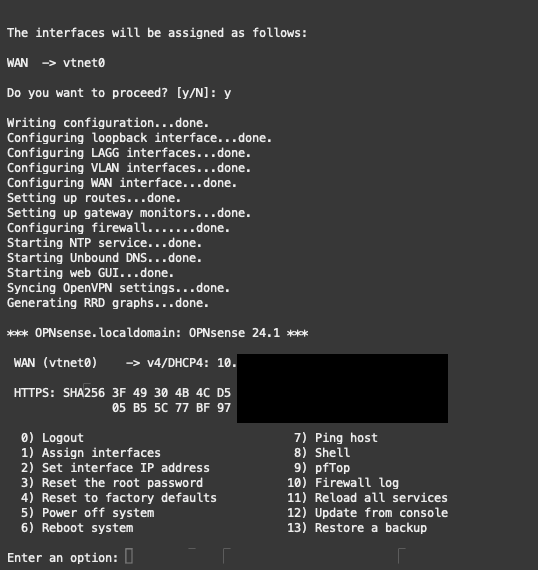
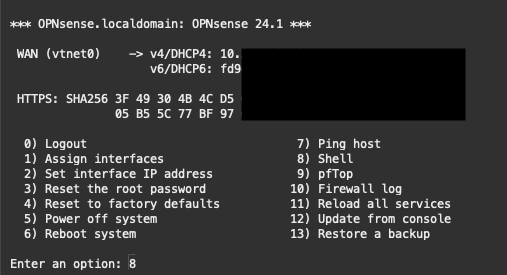
Moving forward, option 1 “Assign interfaces” enables us to configure the VNIC as the WAN interface. A separate LAN interface is not required for the example demonstrated. Refer to the illustration for detailed instructions.
Set new password
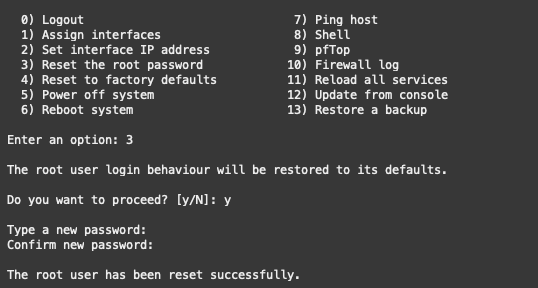
Before accessing the WebGUI and granting access over the public Internet, it is crucial to change the password. Proceed with option 3, “Reset the Password,” to complete this step.
Configure WebGUI
The standard configuration may prevent access to the WebGUI. To resolve this, it is necessary to amend the config.xml file. Choose option 8 “Shell” to access the command line and make the required changes.
Navigate to the /conf folder and create a backup by copying the config.xml file. Once the backup is complete, open the file with a text editor such as vi.
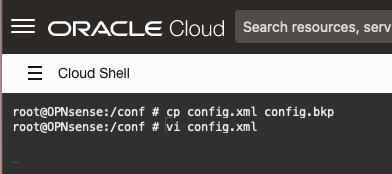
cd /conf
cp config.xml config.bkp

vi config.xml
Jump to the <webgui> part and make sure to include nohttpreferercheck and nodnsrebindcheck.
 <webgui>
      <protocol>https</protocol>
      <ssl-certref>64b1234567</ssl-certref>
      <nohttpreferercheck>1</nohttpreferercheck>
      <nodnsrebindcheck>1</nodnsrebindcheck>
      <port/>
      <ssl-ciphers/>
      <interfaces/>
      <compression/>
      <httpaccesslog>1</httpaccesslog>
      <authmode>Local Database</authmode>
    </webgui>
<nohttpreferercheck>1</nohttpreferercheck>
<nodnsrebindcheck>1</nodnsrebindcheck>
Public Access
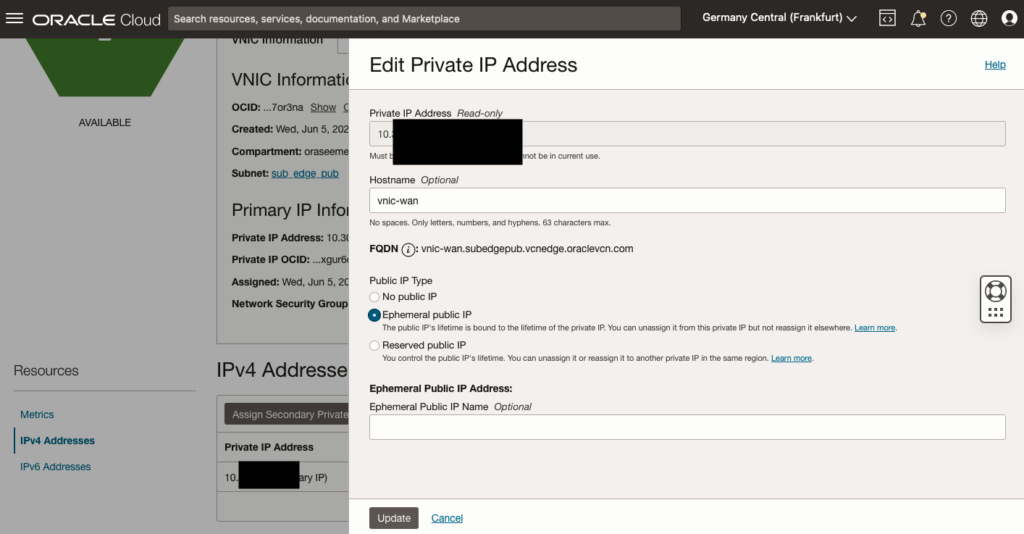
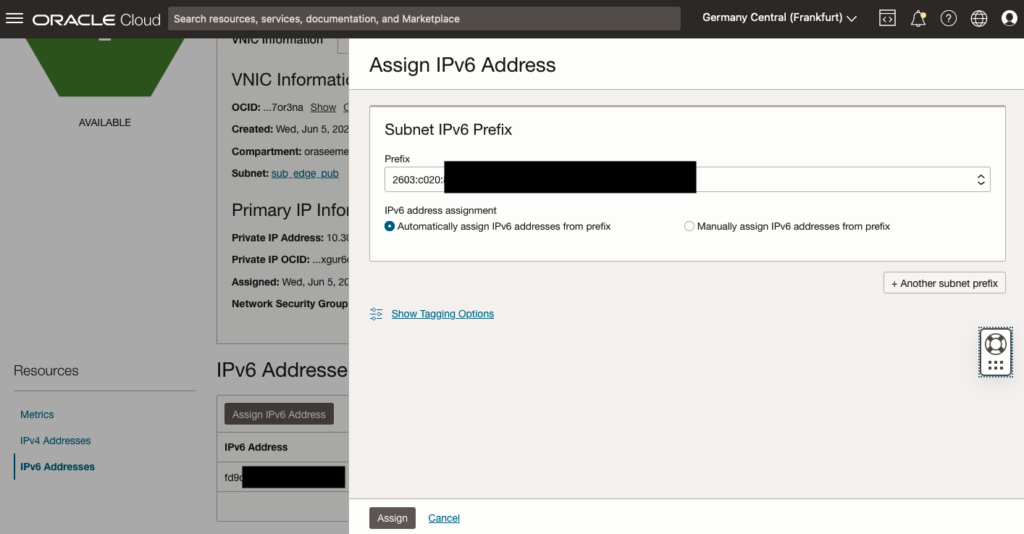
It is now time to define the required Network Security Group (NSG) to allow access to HTTPS and SSH. Additionally, attach public IP addresses to the VNIC. These steps will enable access to your firewall from the public internet, if necessary.
Attach NSG
Make sure to attach a NSG with appropriate rules.
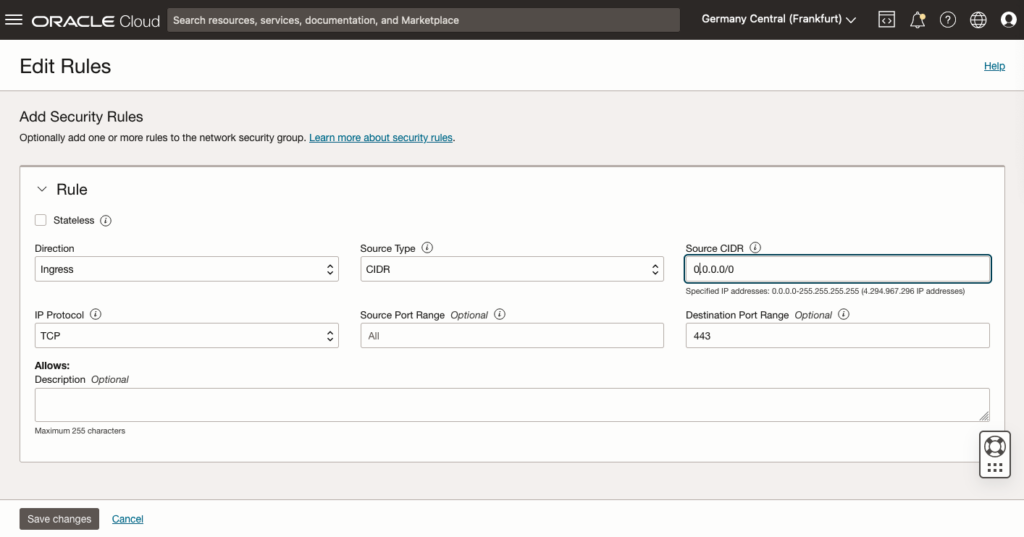
Attach public IP Addresses
Login
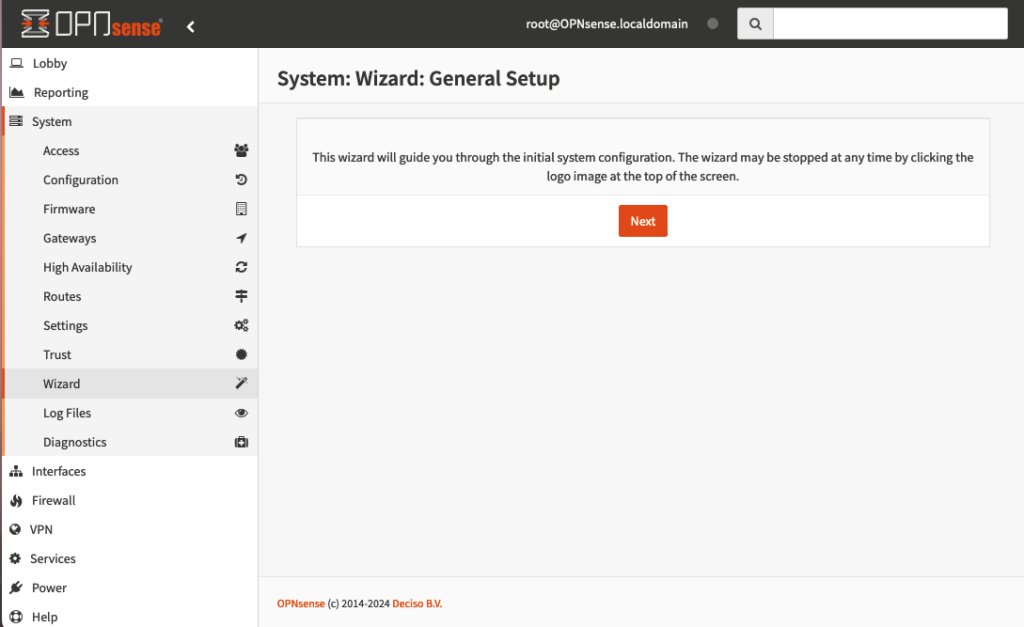
Finally, you can connect using your browser. The associated public IP address can be found in the Compute Instance summary.
Appendix
Disabling and Enabling Firewall via Command Line
Accidentally locking yourself out due to incorrect firewall configuration is a common issue – I’ve heard it happens to many people, just saying.
If this occurs, you can regain access by connecting to the Cloud Compute Instance Console through a local terminal. Here’s how:
- Log in as root.
- Execute the following command to disable the firewall:
pfctl -dTo re-enable the firewall later, use:
pfctl -e